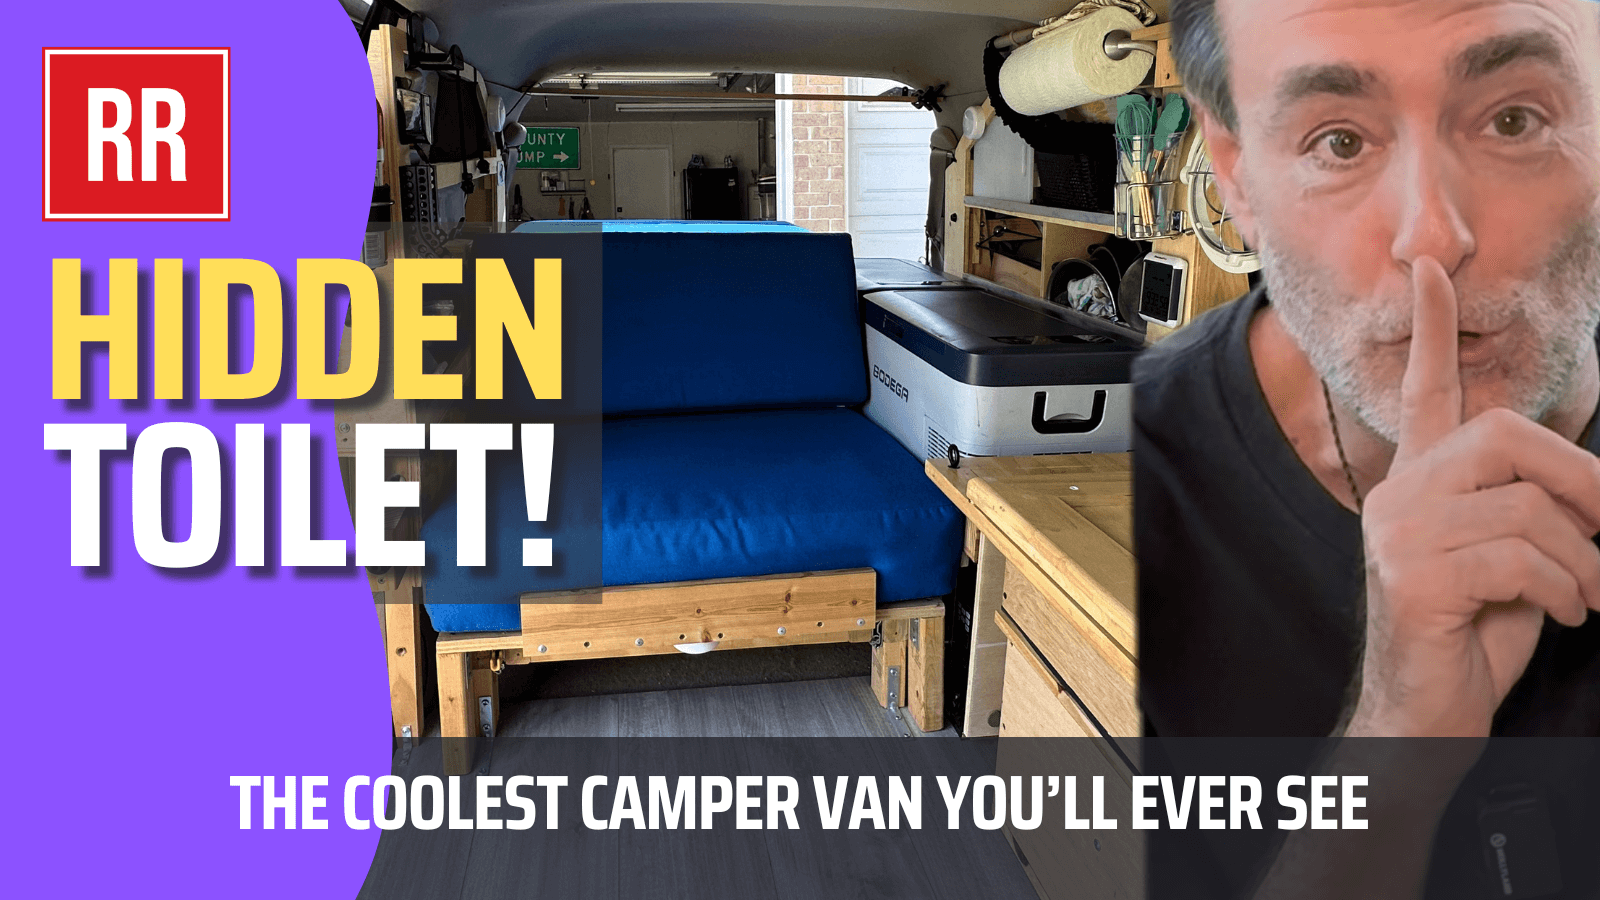
HIDDEN Toilet in Luxury Minivan Camper: How I Built It and What I Learned


Today, I’m diving into a project that has made my van life infinitely more functional: my DIY hidden emergency toilet. This isn’t just any toilet – it’s a low-profile, cleverly concealed system that fits seamlessly into my minivan setup. It’s perfect for emergencies, rainy days and those middle-of-the-night situations where convenience is everything. Let me walk you through the build, the materials I used and what it all cost.
Links to materials, products and gear featured in this video
Why a DIY Toilet?
Living in a compact space like a minivan means that every inch matters. Traditional portable toilet options, like the common five-gallon bucket system, are great for most people. However, being over six feet tall and dealing with the limited interior height of my van meant I needed a much lower-profile solution. The result is a system that’s compact, functional and tucked away under a butcher block countertop when not in use.
Design Features and Real-World Use
The toilet is hidden beneath my long countertop, which also serves as a cooking workspace, holding my air fryer and stove. The countertop folds up easily using a unique bi-folding hinge design, freeing up floor space and revealing the toilet box. It’s so discreet that most people wouldn’t guess it’s there!
When it’s time to use it, the setup is surprisingly comfortable. I keep cedar chips nearby as a cover material, along with toilet paper and a pee bottle for quick nighttime use. Pivoting from the sofa or bed to the toilet is simple, even in the tight space of a minivan.
How I Built It
- Choosing the Right Materials
- A 3-gallon bucket for waste (shorter than the standard 5-gallon bucket).
- A 1.5-gallon rectangular water jug for urine separation, customized to fit perfectly.
- Cedar chips for odor control.
- A quiet 12-volt exhaust fan with a homemade carbon filter to keep smells out.
- The Toilet Box
- Dimensions: 20.5 inches long, 14 inches wide and 11.5 inches high.
- Constructed from lightweight wood with a continuous piano hinge for the lid.
- Weatherstripping for an airtight seal.
- Urine Diverter
- Designed a custom funnel to fit my shallow box setup. Most store-bought funnels were either too deep or too small, so I worked with an artist to create a 3D model. I then had it printed using durable ABS plastic.
- Ventilation
- Installed a 12-volt exhaust fan with a DIY carbon filter made from a small strainer and cheap filter pouches. This setup ensures odorless operation, even during extended use.
The Cost Breakdown
Here’s what I spent on materials:
- Quiet-close elongated toilet seat: $60
- Custom 3D-printed urine diverter: $50
- Artist for 3D design: $37
- Foam weatherstripping: $8
- Water Weld (sealant): $7
- 12-volt fan: $27
- Wood: $25
- Continuous hinge: $20
- 3-gallon bucket: $7
- Carbon filter pouches: $8
- Small strainer: $6
- Miscellaneous screws: $2
Total Cost: $267
While this might seem steep for a DIY toilet, it’s tailored to my exact needs and van layout. That said, if I were to do it again, I’d consider cheaper off-the-shelf solutions to save time and money.
Final Thoughts
This project was a labor of love, and it has paid off in terms of functionality and convenience. The toilet is discreet, efficient and perfectly suited to my lifestyle. Whether I’m parked in a remote location or just need a quick and easy option on rainy days, this hidden emergency toilet is a game-changer.
If you’re considering a similar build, don’t let the cost or complexity discourage you. With some planning and creativity, you can create a solution that works for your space and budget. And who knows? You might even enjoy the process as much as I did!
Thanks for following along and feel free to reach out with any questions or suggestions for my next van build project!