DIY Car Window Privacy Covers That Will Never Fall Out! Step-by-Step Tutorial.

Today, I want to share a DIY project that I’m super proud of — my custom insulated privacy window covers. These things are awesome: they’re not only great at keeping light and heat out, but they fit so snugly into the windows that they never fall out, even when I’m on the move.
Links to products, devices and gear featured in this video
DIY Insulated Privacy Window Covers for My Van — Step-by-Step Guide
Let me walk you through exactly how I made them, what materials I used, and why I think this is one of the best upgrades I’ve done for my van life setup so far.
Why I Made My Own Window Covers
I needed something that offered privacy, insulation, and durability — especially something that wouldn’t get floppy or fall out over time. I also wanted them to look decent inside the van, not just a bunch of foil taped together. So, I went all in and designed rigid, dual-layered shades using Reflectix, a floral fabric curtain for style, and corrugated plastic (Coroplast) for stiffness.
Materials I Used
Here’s the full list of what I used:
- Reflectix (double reflective insulation)
- A fabric shower curtain (or any fabric you like)
- Spray adhesive (3M Super 77)
- Black gaffer's tape
- Packing paper or copy paper
- Scissors
- X-acto or utility knife
- Scotch tape
- Ballpoint pen and Sharpie
- Coroplast sheets (corrugated plastic)
Step 1: Make a Window Template
Start by taping sheets of paper across the window to create a template. Packing paper works great for this, but regular copy paper and scotch tape will do the trick too. Overlap the paper and lightly tape the edges to your window. Once it’s all covered, trace the outline of the window using a ballpoint pen — not a Sharpie, since it can bleed through. Then carefully remove the paper template and cut it out along the line.
Good news: you only need to do this for one side of the van. Just flip the template over to get a perfect match for the opposite window.
Step 2: Cut the Layers
Use your template to trace and cut the Coroplast layers with a sharp knife. Then do the same with Reflectix, making sure to cut two pieces per window. Lay your chosen fabric over each Reflectix layer, then trim it a few inches wider on all sides.
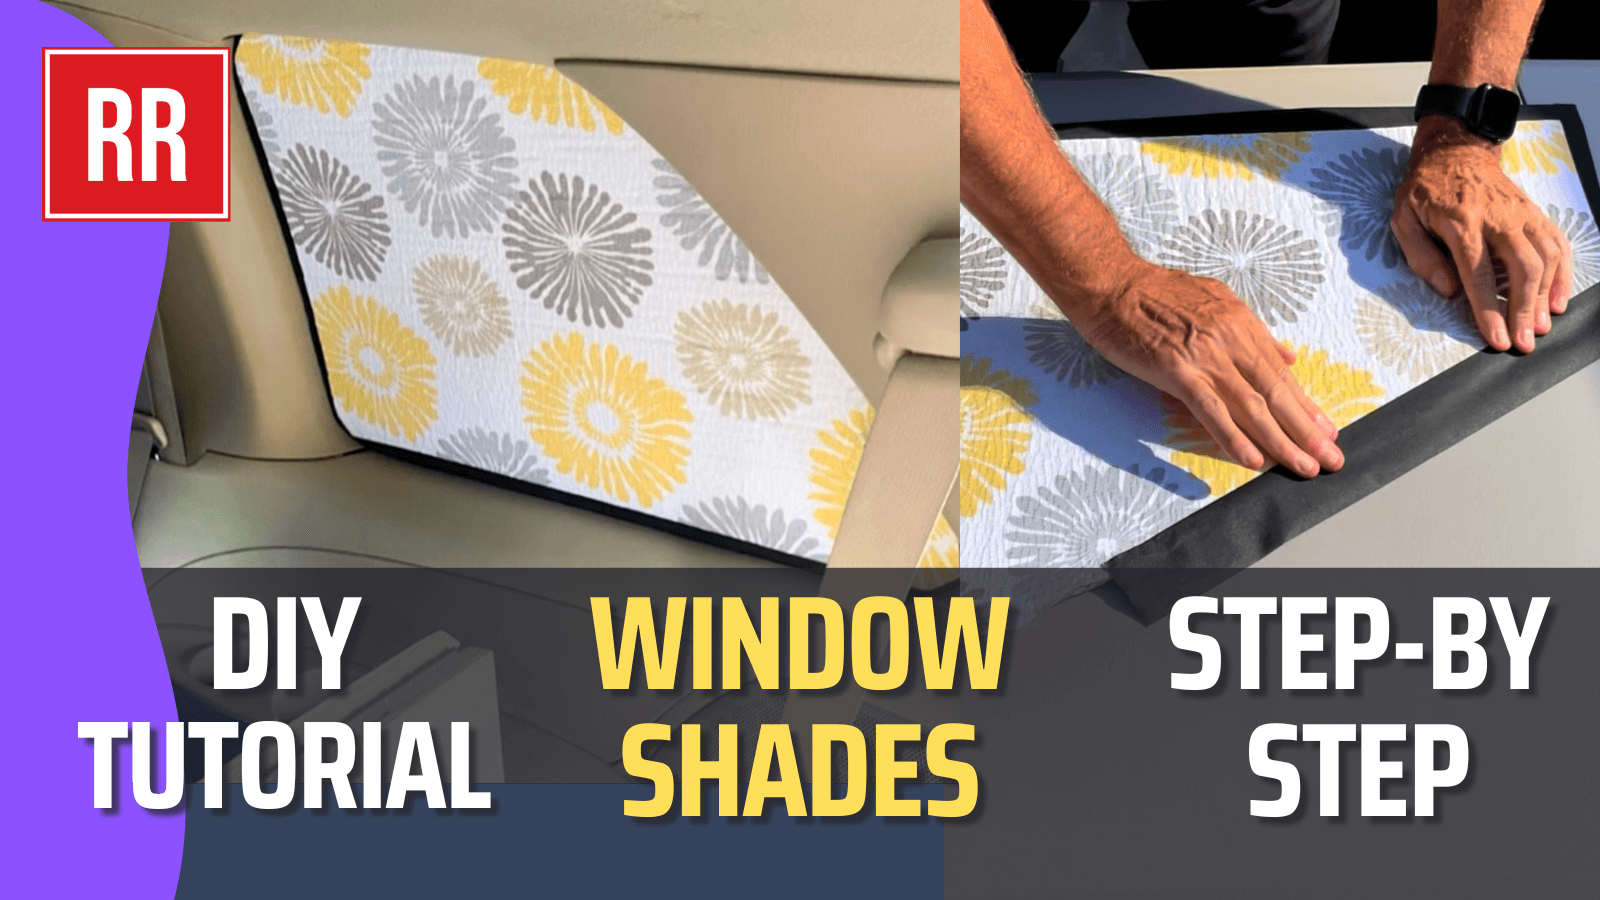
Step 3: Assemble the Shade
Spray adhesive onto the Reflectix and carefully lay it onto the back side of the fabric. Smooth it out from the center to the edges to avoid wrinkles. Trim the excess fabric to about an inch or two all around. Then glue the Coroplast onto the back of the Reflectix. Press down firmly to bond the layers together.
Step 4: Add the Finishing Touches
Wrap the edges in black gaffer tape to seal everything and give it a clean look. For each shade, I also made a pull tab out of the same tape — it’s just a loop folded over on itself and taped securely to the top corner of the shade. These make it easy to remove the covers when I need to.
Cost Breakdown
Here’s what the project cost me overall:
- Reflectix: $20
- Fabric curtain: $35
- Coroplast: $35
- Spray adhesive: $20
- Other supplies (tape, paper, tools): about $47
Total: $157
Not bad for something fully custom, right?
What’s Next?
I’ve finished shades for my four side windows, and they’re working great! The back window is still a work in progress. It’s too big for a single piece of Reflectix or Coroplast, and I haven’t quite figured out how to make a two-piece version stay in place. That’s a challenge for another day.
Thanks for following along!