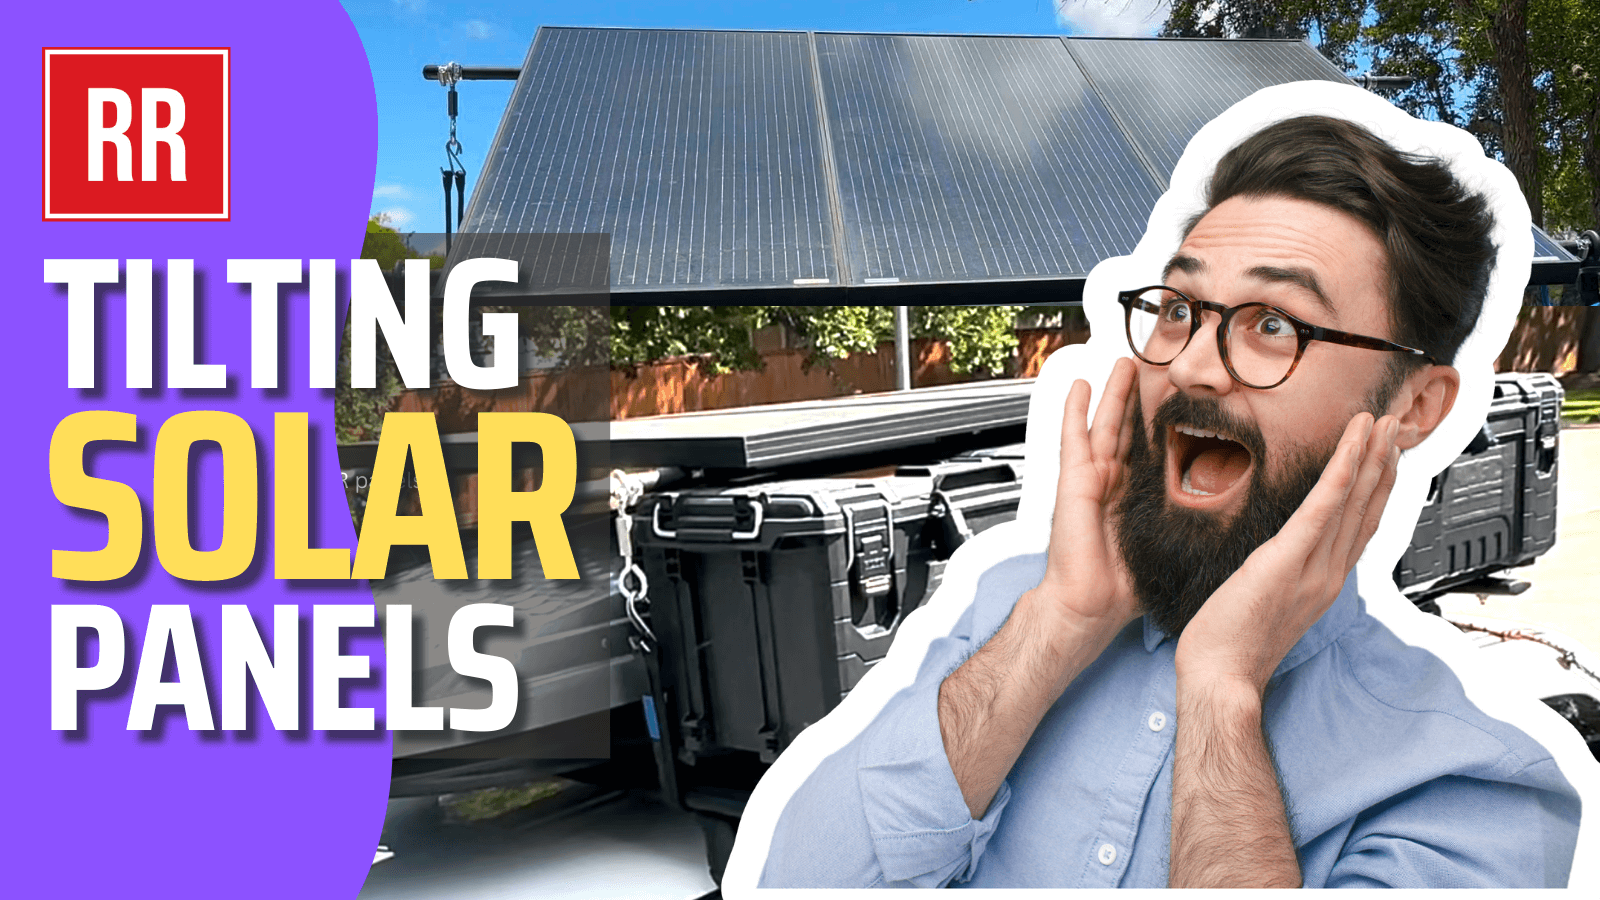
GENIUS Tilting Solar Panels, DIY Gearboxes, 270º Awning in the ULTIMATE DIY Camper


Today I want to take you through how I transformed the roof of my minivan into a fully functional off-grid camper setup. From custom racks and toolboxes to a tilting solar array and a massive awning, this project was no small feat. It took plenty of planning, trial and error, and—let’s be honest—a significant amount of cash. So, was it worth it? Let’s dive into the details, and I’ll let you decide.
Links to products, devices and gear featured in this video
First Impressions
When you first look at my van, stealth isn’t the word that comes to mind. Between the three gearboxes, a Thule roof box, three solar panels and a giant awning, my setup is anything but low-key. All of this has added enough height to make my minivan a whopping 7'3" tall!
Accessing the gear is surprisingly simple, though. I’ve set it up so that I can unhook the tie-down securing solar panels, lift them up with a prop rod and voila—I’ve got access to the gearboxes. These boxes hold all kinds of stuff including rope, a water hose, jumper cables , extra clothes, tools and more. Plus, raising the solar panel at an angle gives me better sun exposure in the afternoon, maximizing my wattage intake.
Solar Panel Wiring: Simple But Effective
I ran the solar wiring through the back hatch and used waterproof Gorilla tape to secure it in place. Believe it or not, it doesn’t leak! The wires snake their way down to the 2,000 watt Bluetti portable power station inside, keeping the whole system running efficiently. If you want more details on the power setup, check out my other videos where I break it down in-depth.
The Vision
When I first started this project, I had two main goals: I wanted an awning and solar panels on the roof. The problem? My van didn’t have any side rails or crossbars to mount them on. I did some research and found a shop in Austin, Texas that could install 5-foot Thule top tracks on my roof. These tracks are super sturdy, thanks to their riveted installation - and they made it possible for me to mount any Thule or Yakima crossbars.
Crossbars and the Cost of Going All-In
One thing I didn’t anticipate when diving into this project was how quickly costs would add up. I needed crossbars, which meant I also had to buy podiums (feet) to mount them, plus a fit kit to attach everything to the top tracks. None of this stuff is cheap! After biting the bullet, I finally had the crossbars mounted and began hunting for a good deal on a roof box and awning. I lucked out on Facebook Marketplace, where I scored a brand-new Thule Alpine roof box for $250. The awning, though, was a beast. This 270-degree awning from Overland Vehicle Systems gives me an impressive 129 square feet of shade and weighs a hefty 75 lbs.
Figuring Out Solar
When it came to the solar panels, I knew I wanted as much fixed solar as possible. Portable solar is great, but I wanted something permanent. The challenge was figuring out where to mount the panels. After brainstorming, I decided to mount them on hinges over the roof box, allowing me to lift them up for easy access to the box.
The solution came down to some custom work: I mounted extra awning brackets upside down on the back of the awning tracks to create a right angle, then added steel eyebolts and conduit poles to act as hinges for the solar array. Once I had the panels mounted, I realized they offered another benefit: more sun exposure when angled upward, which boosted my solar efficiency.
Custom Gearboxes: A Budget-Friendly Hack
One of the highlights of this project was making custom gearboxes out of cheap Home Depot toolboxes. I mounted these on half-slotted Unistrut rails, which I cut and painted to prevent rusting. The total cost? About $45 per toolbox, compared to $300-$500 for purpose-made storage cases. I used butyl tape to waterproof the bolt holes and after thousands of miles on the road, they haven’t leaked.
The Final Price Tag
Now, let’s talk about the cost. Between the crossbars, roof box, awning, solar panels and gearboxes, I ended up spending around $3,500. Yeah, you heard that right—$3,500 on a minivan!
Was It Worth It?
So, was all of this effort, time, and money worth it? The answer is yes—and no. Yes, While I didn’t intend to drop that much when I first started, the benefits of having extra storage, solar power and an epic awning have been worth it. But would I do it all over again? Probably not. I’d definitely look for ways to simplify the process and cut down on costs.
But the best part? None of this is permanent. I can move this setup to my next rig as long as it has crossbars - so I won’t have to start from scratch when I eventually upgrade.
That’s it for this build, but stay tuned for more adventures and gear reviews. And if you’re curious about how the awning opens, check out the quick time-lapse I included at the end of the video.