This Starlink Mini Upgrade Changes EVERYTHING for Van Life Internet!


If you’re living the van life or even just a weekend warrior, you know how important it is to stay connected. Whether it’s for work, streaming your favorite shows, or just keeping in touch, a reliable internet connection can be a total game changer. That’s why I added a Starlink Mini satellite dish to my camper build.
Links to products, devices and gear featured in this video
How I Set Up Starlink Mini for My DIY Minivan Camper
I didn’t want it to be a hassle to set up every time, and I wanted it to be safely stored while driving. So, I made two custom modifications: a wooden mount inside the van to keep it secure on the road and a waterproof junction box on the roof for a quick, hassle-free connection.
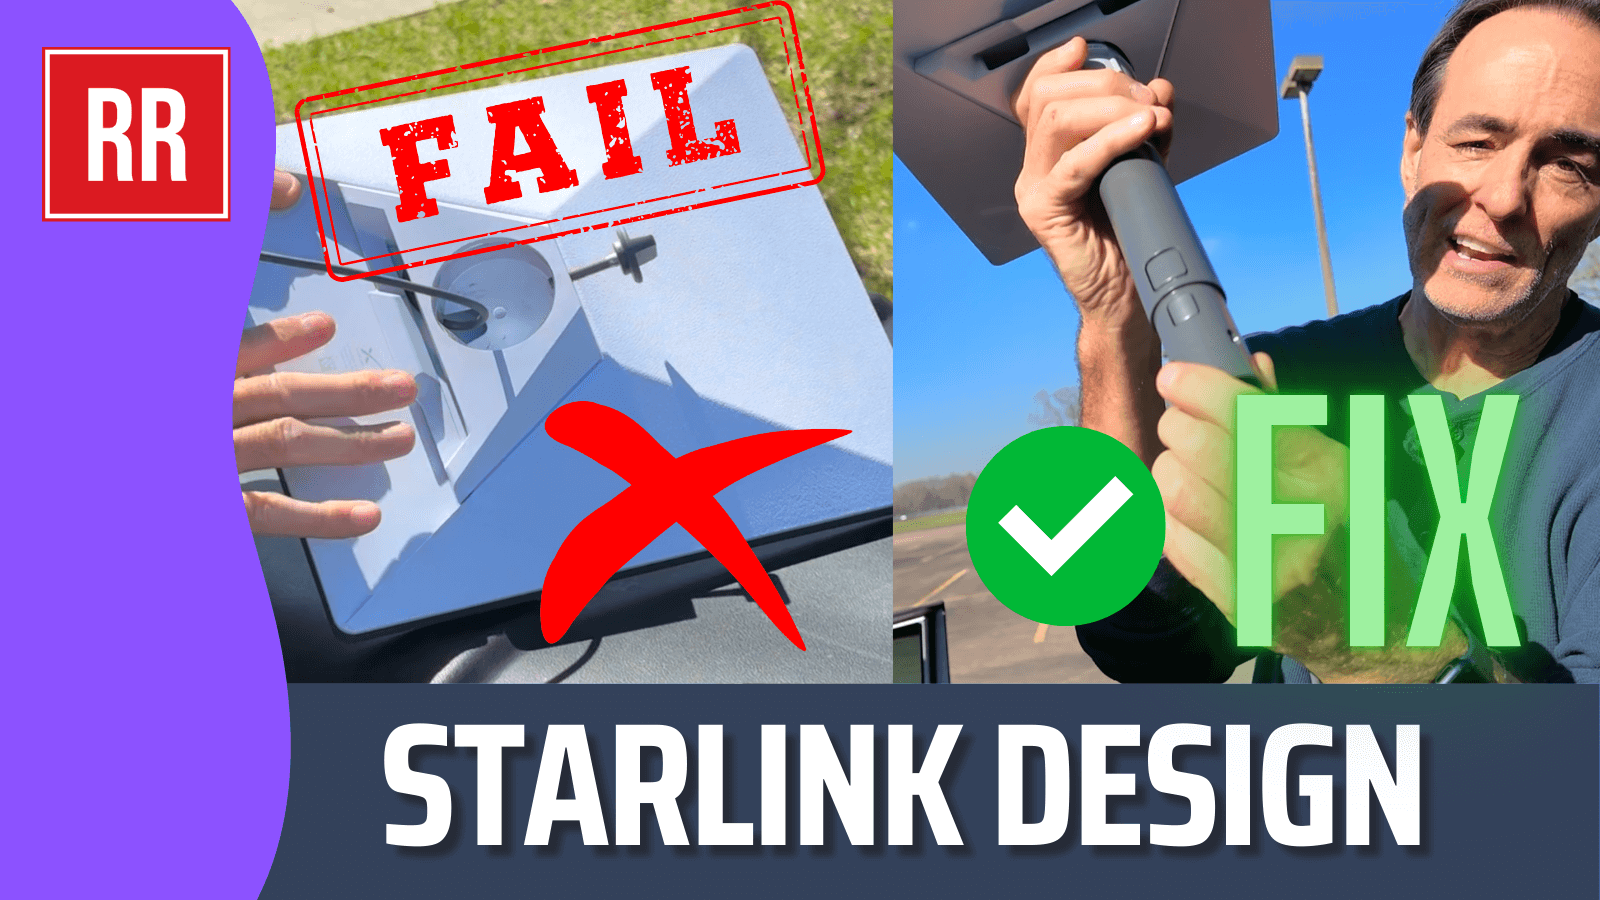
In this post, I’ll walk you through exactly how I set everything up, including how I worked around a serious design flaw in the Starlink Mini’s mount using a short pole and quick-connect system.
Safe Storage Inside the Van
When I’m driving, the Starlink Mini is securely mounted in a custom wooden slot. I designed and built this slot to fit snugly into my countertop so the dish slides in and stays put. It’s a tight fit—tough to get out—but that’s actually a good thing. The last thing I want is for my Starlink dish to be bouncing around while I’m on the road. This setup keeps it safe and prevents damage during travel.
The Starlink Mini Design Flaw & My Fix
Now, let’s talk about the design flaw in the Starlink Mini. The plastic pipe mount that comes with the dish has a major weakness: every time you want to connect or disconnect the dish, you have to slide the plastic mount in and out to access the cable port. This constant snapping in and out wears down the plastic, creating a failure point over time.
To fix this, I made a few key modifications:
- Short Replacement Cable: I got a 6-foot replacement cable and left it permanently plugged into the dish. This way, I never have to remove the plastic mount.
- PVC Spacer Pipe: I added a PVC spacer pipe that fits into the mount. This allows me to leave the cable in place and keeps the mount locked in permanently.
- Quick-Connect Pole System: Instead of using the standard mount setup, I bought a quick-connect pole. This lets me snap the dish in and out quickly without messing with the cable or mount. The pole also allows me to run the cable through it, keeping everything neat and efficient. I wrapped some gaffer’s tape around the pole to adjust the fit and allow for easy rotation, so I can fine-tune the dish’s angle once it’s mounted.
Waterproof Junction Box for Quick Setup
For easy setup at camp, I installed a waterproof junction box on the roof. Here’s how it works:
- The box is a standard outdoor waterproof case, like what you’d use for extension cords in your yard.
- Rubber gaskets inside the box create a watertight seal around the cables.
- I mounted the box to my roof rack Unistrut channels and sealed everything with butyl tape, which is commonly used for RV roofs to prevent leaks.
- Inside the box, I connected a barrel connector to join the permanently mounted Starlink cable to the detachable cable that runs up to the dish.
So when I arrive at a campsite, setting up the Starlink is as easy as:
- Snapping the dish into place on the quick-connect pole.
- Plugging the cable into the waterproof junction box.
Final Thoughts
This setup has been a total game changer for my van life internet needs. With the quick-connect pole and waterproof junction box, I can set up or take down my Starlink Mini in under 20 seconds. Plus, the modifications I made mean I’m not constantly stressing the plastic mount, reducing the risk of failure. I’ve driven through rainstorms and covered tons of miles with this setup, and the junction box has never leaked.
If you found this guide helpful, please give this a like and subscribe to the channel—it really helps! Until next time, thanks for reading and happy travels!