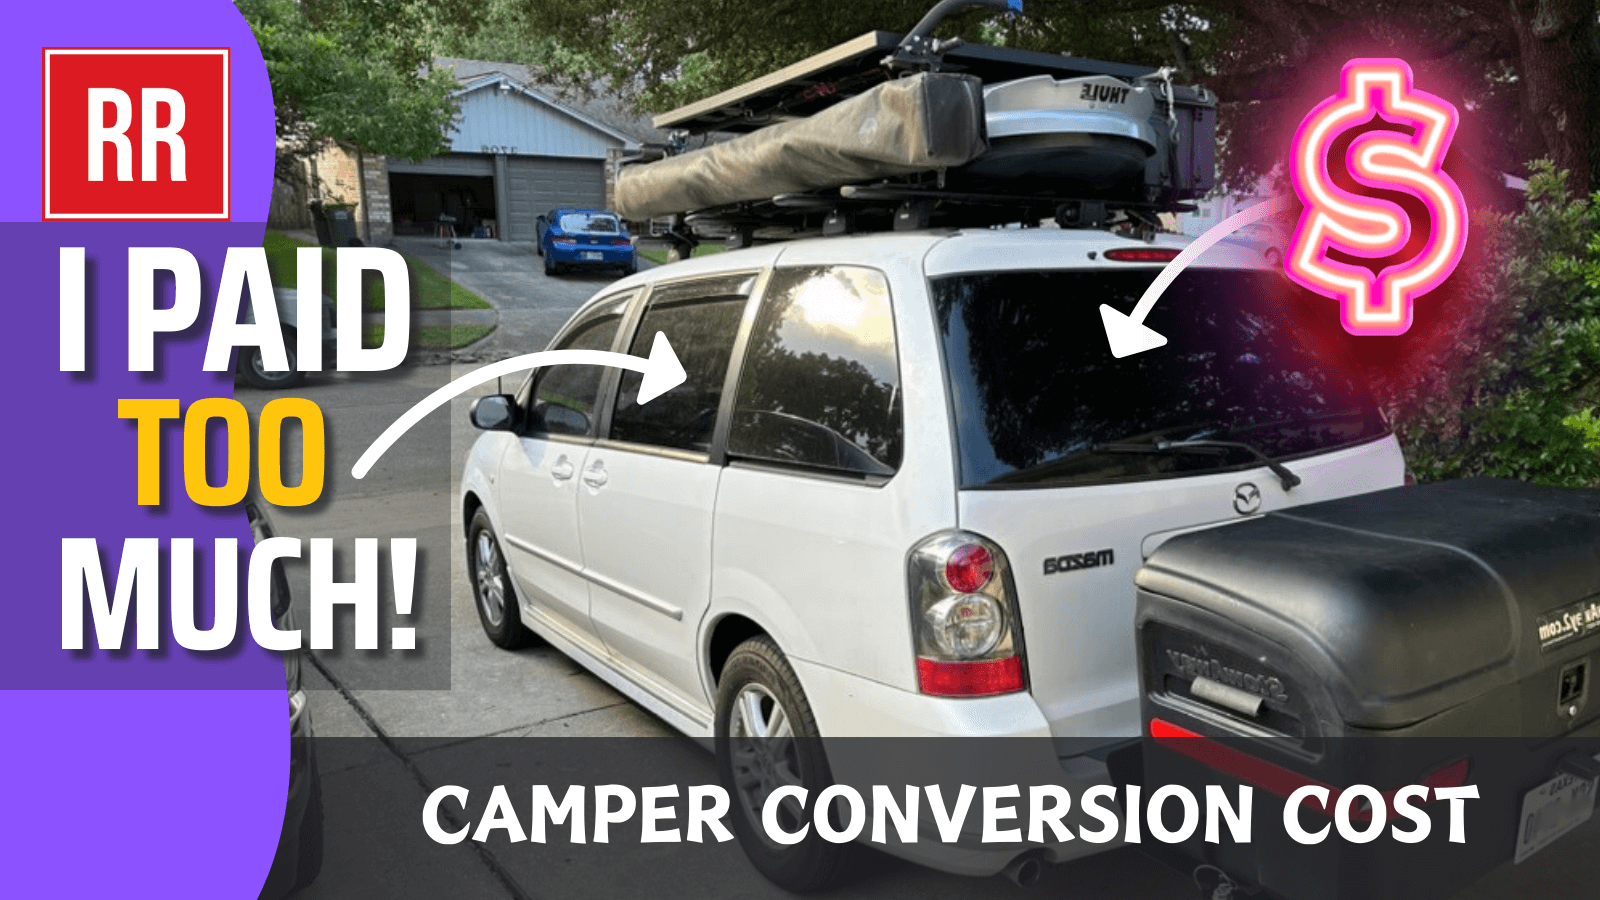
I Converted a Minivan Into a Camper (and It Cost WAY Too Much!)


Today, I want to take you through the full cost breakdown of turning my 2006 Mazda MPV minivan into a fully functional off-grid camper. If you’ve ever wondered what it takes financially to transform a simple vehicle into a tiny home on wheels, buckle up—because we’re diving into the details!
I’ll be covering everything from the van itself to the build materials, appliances, and even some of the unexpected costs that popped up along the way. I’ve also linked a PDF with a pricing overview if you want a quick reference. Just remember, these are the prices I paid over the past two years, and costs may be higher or lower depending on when and where you’re shopping. Plus, I didn’t include labor—because, well, I did everything myself!
The Van Itself: $8,000
I started with a 2006 Mazda MPV minivan that had only 75,000 miles on it. I definitely overpaid due to the pandemic, as it was in mint condition but realistically should have been around $5,000. Still, a solid foundation was key to the build.
I also made a few essential upgrades:
- Nano-ceramic window tint: $1,100
- New tires: $600
- U-Haul hitch installation: $300
- Engine gasket replacement: $250
Starting total: $10,250
Framing & Interior Construction: $520
Building a sturdy and functional interior was crucial, and that started with wood framing and flooring.
- Wood brace and bolts for the base: $15
- Plywood flooring: $20
- Laminate planks: $35
- Aluminum trim & hatch access: $35
- Rear and microwave cabinets: $80
- Side storage units: $75
- Folding butcher block countertop: $260
Furniture: $1,500
I wanted a comfortable and versatile living space, so I put a lot of effort into my DIY furniture.
- Collapsible sofa bed (drawer slides, steel braces, custom cushions, upholstery): $745
- Custom-built sink box (tile counter, USB pump, spice rack, storage): $445
- DIY low-profile composting toilet: $250
- Multi-use shelf & camper table: $60
Electrical Setup: $2,375
Powering my camper van was one of the biggest investments, but absolutely necessary.
- Jackery power station: $1,600
- DC-to-DC charger, fuse panel, wiring & connectors: $175
- AC power plugs & external waterproof port: $75
- LED puck lights & rechargeable stove light: $45
- USB charging station: $25
Appliances: $1,122
My cooking setup and temperature control were essential for full-time van life.
- Microwave: $100
- Air fryer: $60
- Egg bite maker: $25
- Coleman stove (propane): $210
- Butane stove: $55
- 12V kettle: $22
- Shaco boat fan: $120
- Second 12V fan: $55
- 12V compressor fridge/freezer: $250
- Seaflo water pump & shower setup: $185
Roof Setup: $3,750
This was the most expensive part of the build, but it maximized my storage and energy capabilities.
- Thule top tracks & professional installation: $500
- Thule crossbars, podium feet & fit kits: $1,120
- Thule roof cargo box: $250
- DIY waterproof gear boxes & mounting hardware: $360
- 300W solar panels, connectors & brackets: $470
- 270° awning: $750
- Shower tent awning: $300
Windows & Ventilation: $255
- DIY window shades (Reflectix, fabric, adhesives): $100
- WeatherTech rain deflectors: $125
- Magnetic bug screens: $30
Safety & Tools: $620
- Fire extinguisher, CO2 & gas detectors, first aid kit: $120
- Power tools, saws, splicers, wire crimpers, misc. build materials: $500
Miscellaneous Items: $245
These were small additions that made life easier.
- Air pump, battery jumper, cup holders, towel holders, cookware, silverware, utensils: $245
Final Cost Breakdown
| Category | Cost |
|---|---|
| Van & Upgrades | $10,250 |
| Framing | $520 |
| Furniture | $1,500 |
| Electrical | $2,375 |
| Appliances | $1,122 |
| Roof Setup | $3,750 |
| Windows | $255 |
| Safety | $120 |
| Tools | $500 |
| Miscellaneous | $245 |
| Grand Total | $20,637 |
I have to admit, I didn’t go into this project with a strict budget, and the final cost shocked me a bit. However, I could have saved around $5,500 if I had:
- Paid a more reasonable price for the van ($3,000 savings)
- Avoided mistakes and redo projects ($1,500 savings)
- Used less expensive materials ($1,000 savings)
If I had been more budget-conscious, this build could have been closer to $15,000. Still, compared to a professional van conversion (which can run anywhere from $50,000 to $200,000), I consider this a steal!
I hope this cost breakdown helps anyone planning their own DIY camper van conversion. If you found this helpful, please like and subscribe to my channel for more van life content. Thanks for reading, and happy travels!